Learning to fly fish takes time. Understanding what you need to know before you dive into the details of fly fishing can save you a lot of headaches. What you don’t want to do is go into a shop, pick up the first fishing package you see, then brag about your first fish on the fly when you just posted a photo of yourself with a spin rod and spoon hanging out of your fish’s mouth. Booking a guided fly fishing trip is probably the easiest way to get a crash course on fly fishing and get some time on the water as well. In the mean time, we picked out five things you NEED to know before you can call yourself a fly fisherman.
-
Know which items you’ll need for a successful day on the water
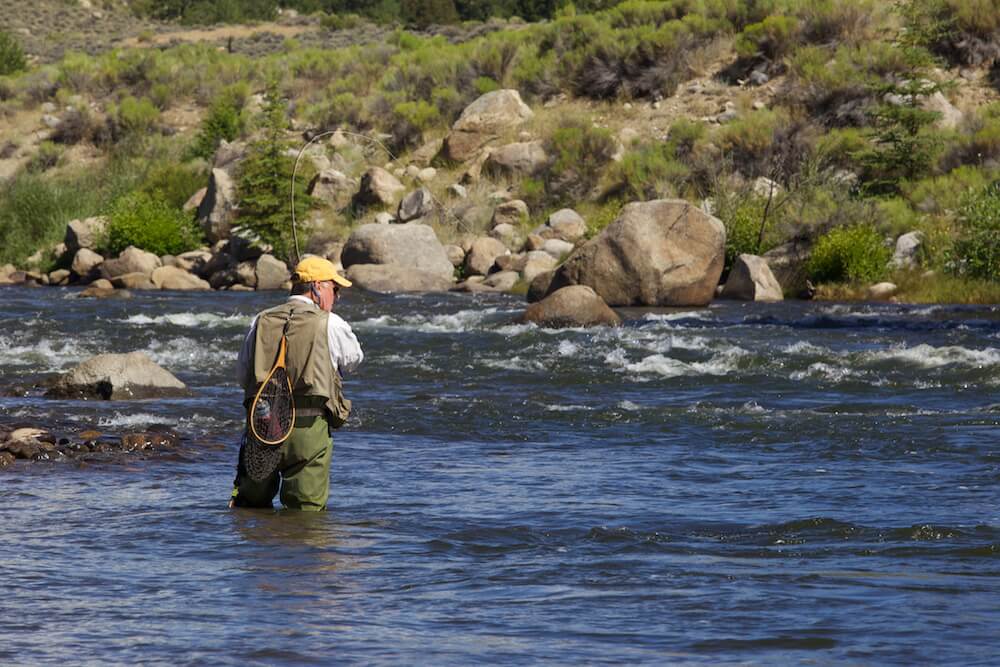
You can typically get away with just a fly rod, fishing net, and some flies. This is the basic setup that’ll get you in the water landing fish. However, you’ll soon realize that it’s more enjoyable and easier to focus with some extra items in your arsenal.
A wide brim hat and sunglasses will keep you covered by the sun and glare. Polarized sunglasses can shield you from the sun, while also making it easier to see through the water. A fly box will keep your flies organized and easy to grab. You should also consider buying a fly-fishing vest that keeps virtually all your gear on your chest. You’ll want to bring sunblock, nail clippers and a knife for cutting your line, and a pair of fisherman’s pliers for removing your fly.

Photo Courtesy of goodfishingcentral.com
-
How to find a fishing spot near you
Fishbrain is an app that can give you directions to and information on fishing spots near you. This is also a great way to communicate with local fishermen and see photos of fish that were caught in the area. The downside to this app is that many photos that show up for a certain spot were taken elsewhere, and in some instances, you’ll find that there isn’t even water where this “fishing spot” is supposed to be. For the most part, it’s a decent app and a great way to start your fishing journey.
The alternative to using fishing apps is just looking at rivers, lakes, and ponds for fly fishing in Colorado. From there you can look for local government resources like the Colorado Fishing Atlas. Nevada and other states have similar resources. This is a great option for finding your own fishing holes that you can rely on. Many fishermen prefer not to share where they go fishing with people outside of their friend group because they don’t want to find their spot publicly listed or overrun by fishermen with bad manners and a tendency to litter. Here is a great resource for where to go for the best trout fishing in the Colorado Rockies.
-
How to tie a lead to your fly line, and a fly to your lead
When you first get your fly-fishing outfit, you’ll find a fly line already attached to your reel. What you’ll need to do now is attach your leader to your fly line. Your leader is a very important piece of your rig that requires more attention than we can give it in this article alone. However, most rod and reel packages will include a couple of leaders for you anyway. You can also buy leaders separately.
Here’s how you tie a lead to your fly line without making a permanent knot:
- If your leader does knot already have a loop on the end, you’ll need to make a perfection loop. If your lead is tapered, remember to make the perfection loop on the opposite end.
- Create a perfection loop on the free end of your fly line.
- Use a loop-to-loop knot to connect the loop on the end of your fly line to the loop on your lead.
Now, if you ever need to switch your leader, you can simply undo the loop-to-loop knot and attach another.
To attach your fly to your lead you can use any one of many knots out there. As a beginner, we recommend you learn the Uni Knot, although a more advanced knot that can give your fly some natural movement in the water is the Rapala Knot. Learn and memorize these knots as your go-to while fly fishing, since you’ll likely need to switch flies often while on the river. Then, you can begin to experiment with more knots and techniques.

-
How to land a fish
The presentation of your fly will get the fish interested, but they aren’t always excited enough to take a mouthful right away. In many cases, a fish will nibble on the fly, being cautious to not set the hook on their own. So being able to feel for a slight pull on your fly, then knowing how to set the hook and reel it in is important.
You should have enough slack in your line that you aren’t pulling the fly away from the current. Instead, your fly is naturally drifting along. However, too much slack and you won’t feel the tension from a bite, or at least you won’t notice until it’s too late to set the hook and the fish has spit out your fly. Try to find a good in-between.
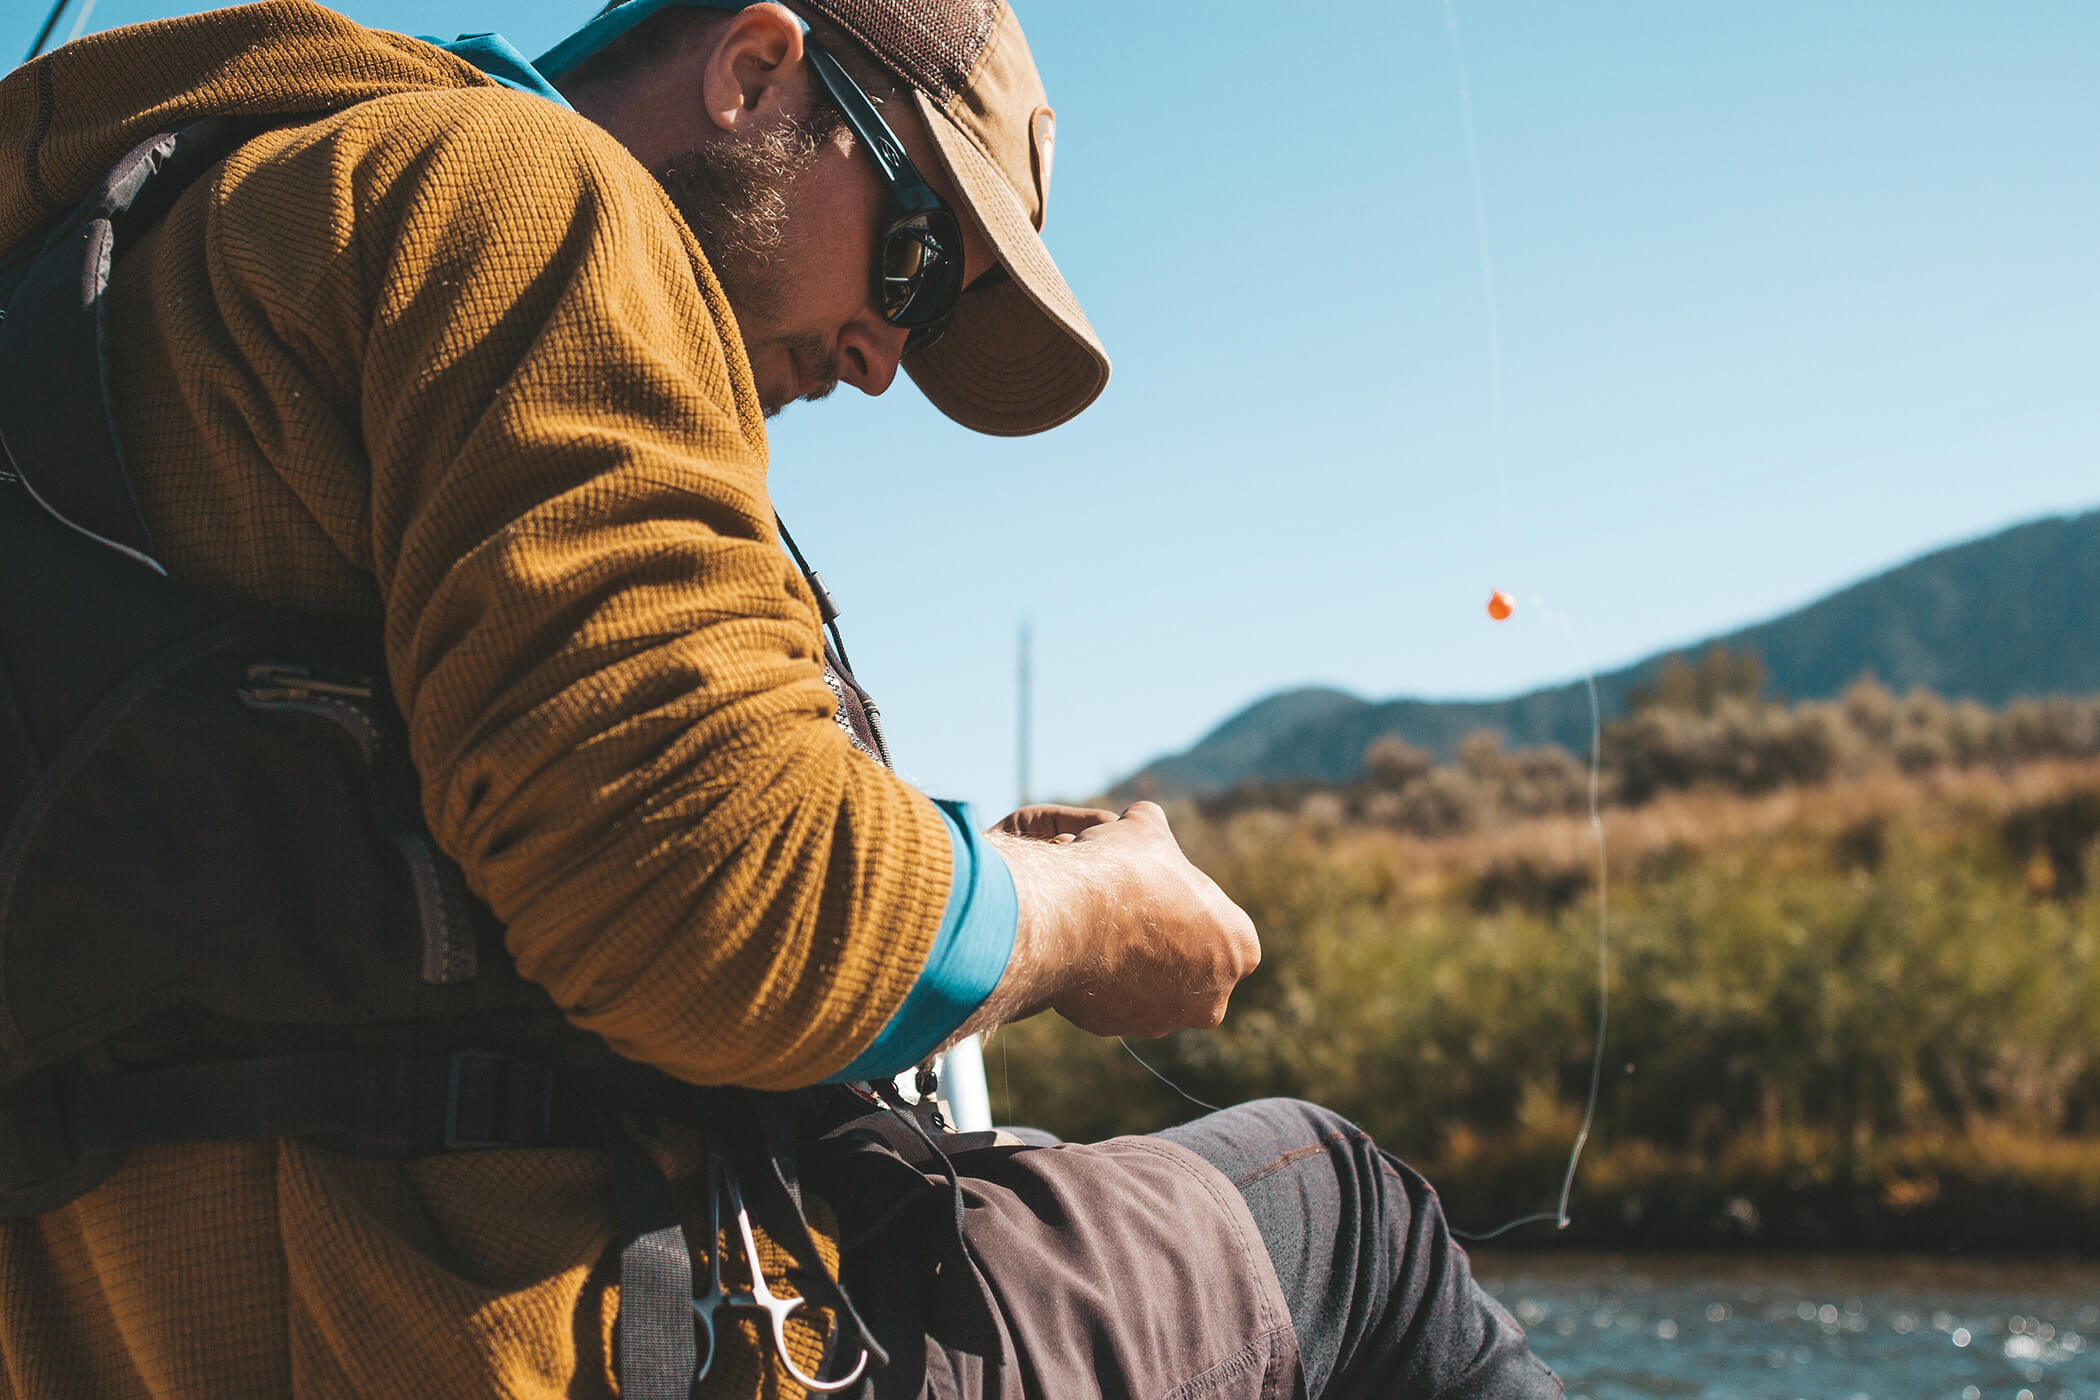
A strike indicator (or bobber) can attach to your line and float just above the surface, when you see this indicator dip under the water, that is when you quickly lift the end of your rod and pull away from the current. This is how you set the hook. This also works without an indicator; you’ll just have to be more vigilant about how a bite feels than relying on what you see.
Now reeling in is tricky with fly fishing because you naturally have a lot of slack between your reel and the hand you use to hold the line while casting. So, if you happen to land a fish while you have all this slack hanging loosely around you, you’ll need to firmly hold the line as you would casting until you reel in all your excess. Once you’ve reeled in your excess slack, you can loosen your grip on the line and use your reel to bring the fish closer. If you don’t hold onto the line as you reel in the slack, you risk giving your fish enough freedom to release the hook.
-
How to net and release a fish
Many jurisdictions only allow catch and release fishing. Once you’ve reeled your fish in close, you’ll either have a friend or a guide ready with a net or you’ll have to net it yourself. If you are doing this on your own, do not set your rod down or risk injuring the fish by placing it on the bank or a rock. Instead, hold your rod under your arm and use your free hand to reach for your net, then slowly raise the tip of your rod as you place the net under your fish. Only once you’ve netted the fish should you lay your rod down.
At this point, you can take photos and hold your fish underwater in the net then get ready to release. This is when your fisherman’s pliers really come in handy. Hold your fish’s mouth open with your fingers, then use your pliers to pull out the hook while being careful not to hurt the fish or rip your net. Once the hook is out, just hold your fish underwater and watch as it swims away.
Photo Courtesy of jensenflyfishing.com


 TWITTER
