Imagine it is your first time fly fishing and you have been out on the water for a few hours and haven’t had any bites. You’ve gone through a variety of different fly patterns and have decided to try one more before packing it up and going home. One cast later you have a huge strike and the fight is on! After a few minutes of reeling in line, the fish is right near your feet. Right at this moment, as you’re ready to land the fish into your net, your line snaps and the fish swims away. I think this scenario is every angler’s story when it comes to fly fishing!
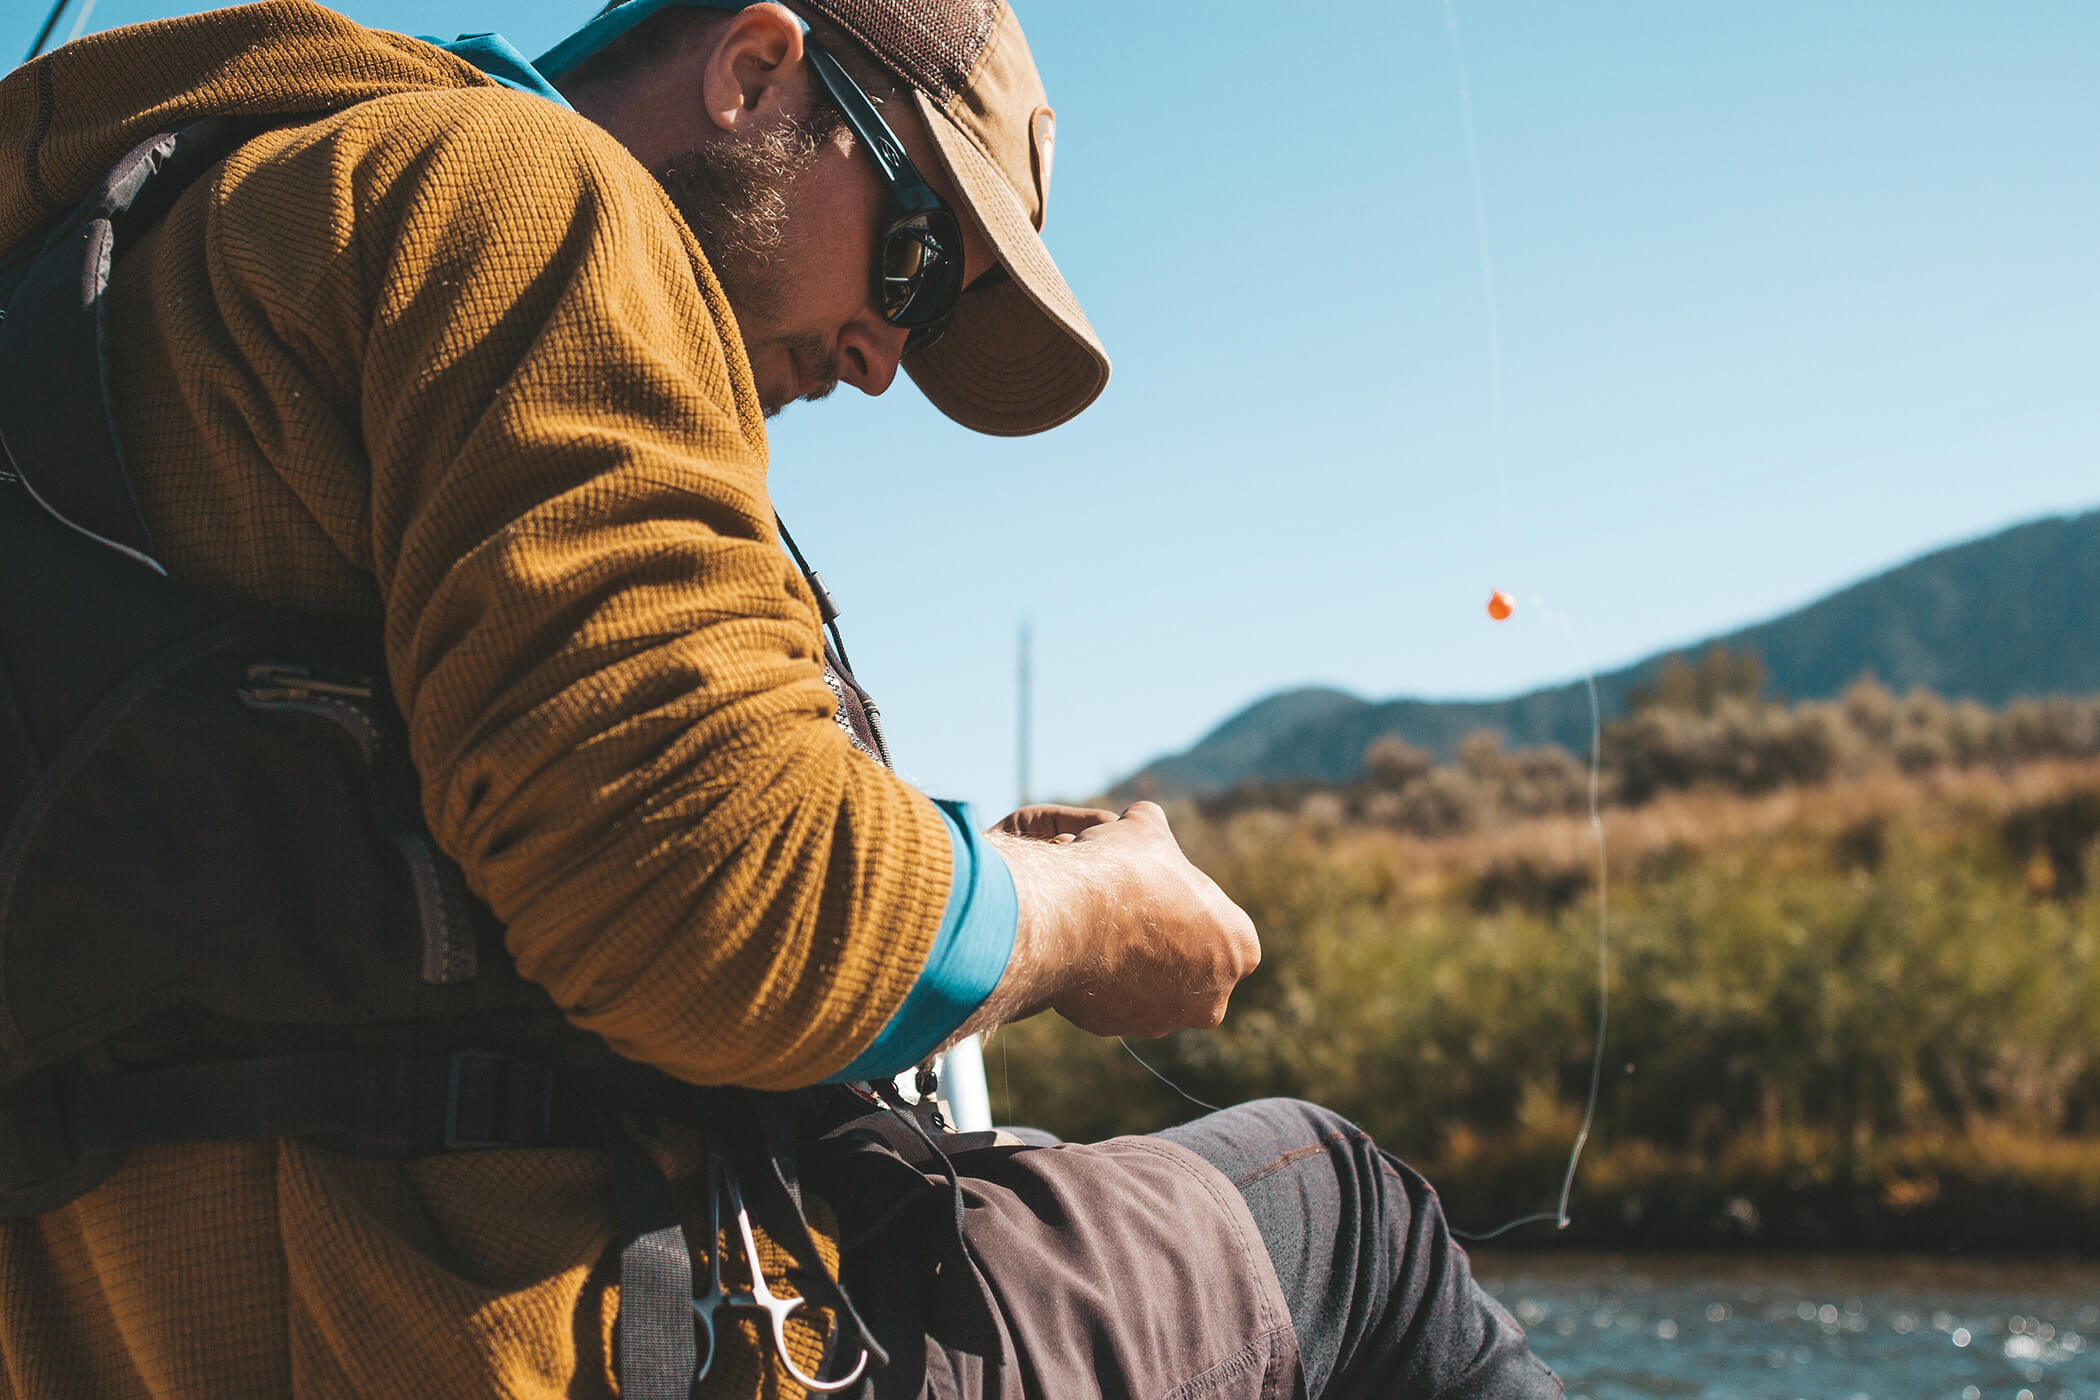
If you’re new to fly fishing, you quickly realize that leaders can get expensive. To save money I keep plenty of tippet material on hand to extend your leader and attach the fly to this material.
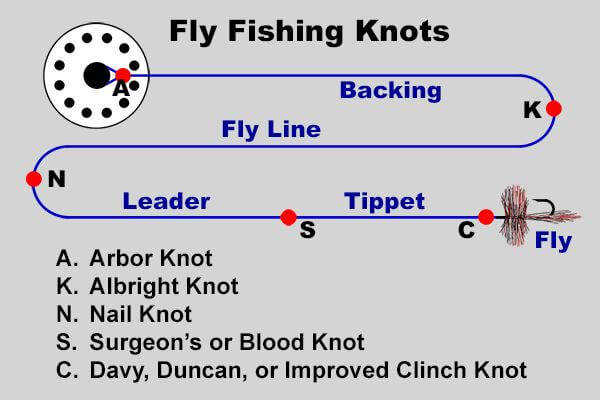
There could be a variety of reasons that caused that line to snap and most likely it comes from you not tying the right knot! To decrease the chances of this happening to you, here are a few of the best fly fishing knots to tie and when to use them. Both the clinch and double surgeon knots are intended to be used on the end of the tippet towards the opposite end of the reel.
CLINCH KNOT
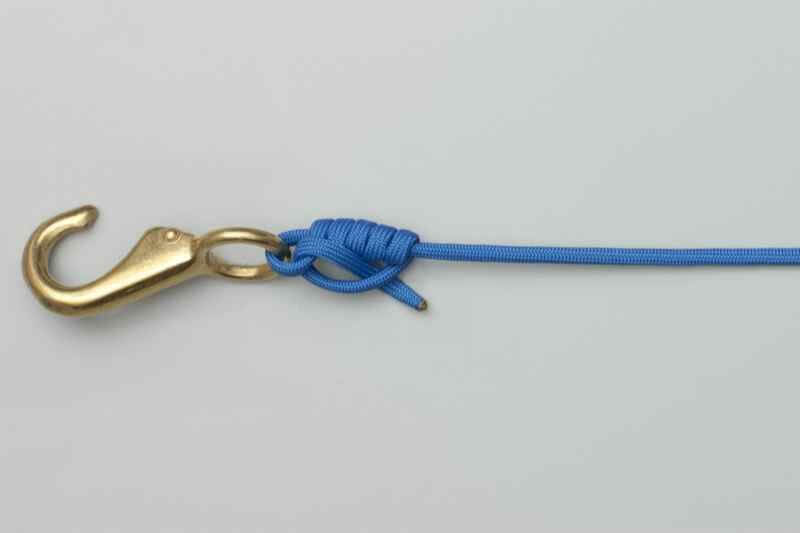
The first knot to learn is the Improved Clinch Knot. This knot is used to attach your leader to your fly.
- To tie this knot you will need to push the tag end of your leader through the eye of the fly hook.
- From here, make 6 twists with the fly and push that tag end between the hook eye and the very first wrap. This will create an opening between the tippet loop and the wraps.
- Push the tag end through this loop and pull slightly.
- Moisten the knot and pull the standing portion of the tippet and the hook until the knot is fully snug against the hook eye.
- Trim the tag end and start casting!
DOUBLE SURGEON’S KNOT
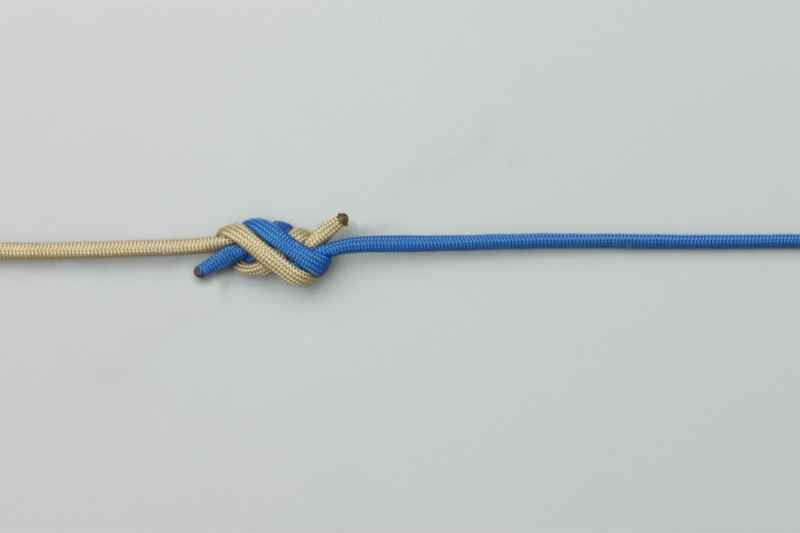
The main knot used to attach the leader to the tippet is the Double Surgeon’s Knot. This knot requires the leader and tippet to be placed side by side so they overlap facing in opposite directions.
- Tie an overhand knot with the leader tag end and the tippet.
- Pass the entire length of the tippet through the overhand loop but do not tighten the overhand knot.
- Grasp the loop and make another pass with the tippet through the loop.
- Start to draw the loop close.
- Moisten the loop and cinch it tight by pulling all four ends at the same time.
- Trim the tag ends and your all set.
These are simply two examples of the many fly fishing knots that can be used. However, I tend to use the same knots that have proven effective in the past. I always say find something that works for you and stick with it!
Pro Resource
There are many websites out there that can show animations on how to tie different knots; check out Animated Knots! This website best shows the animated movements that go into tying knots, imagery, what finished knots should look like, and when you should use each one. Having this step-by-step process with the correct pictures can really help you out.
If you’re interested in booking that fly fishing adventure or would like a few more tips be sure to give us a call!


 TWITTER
